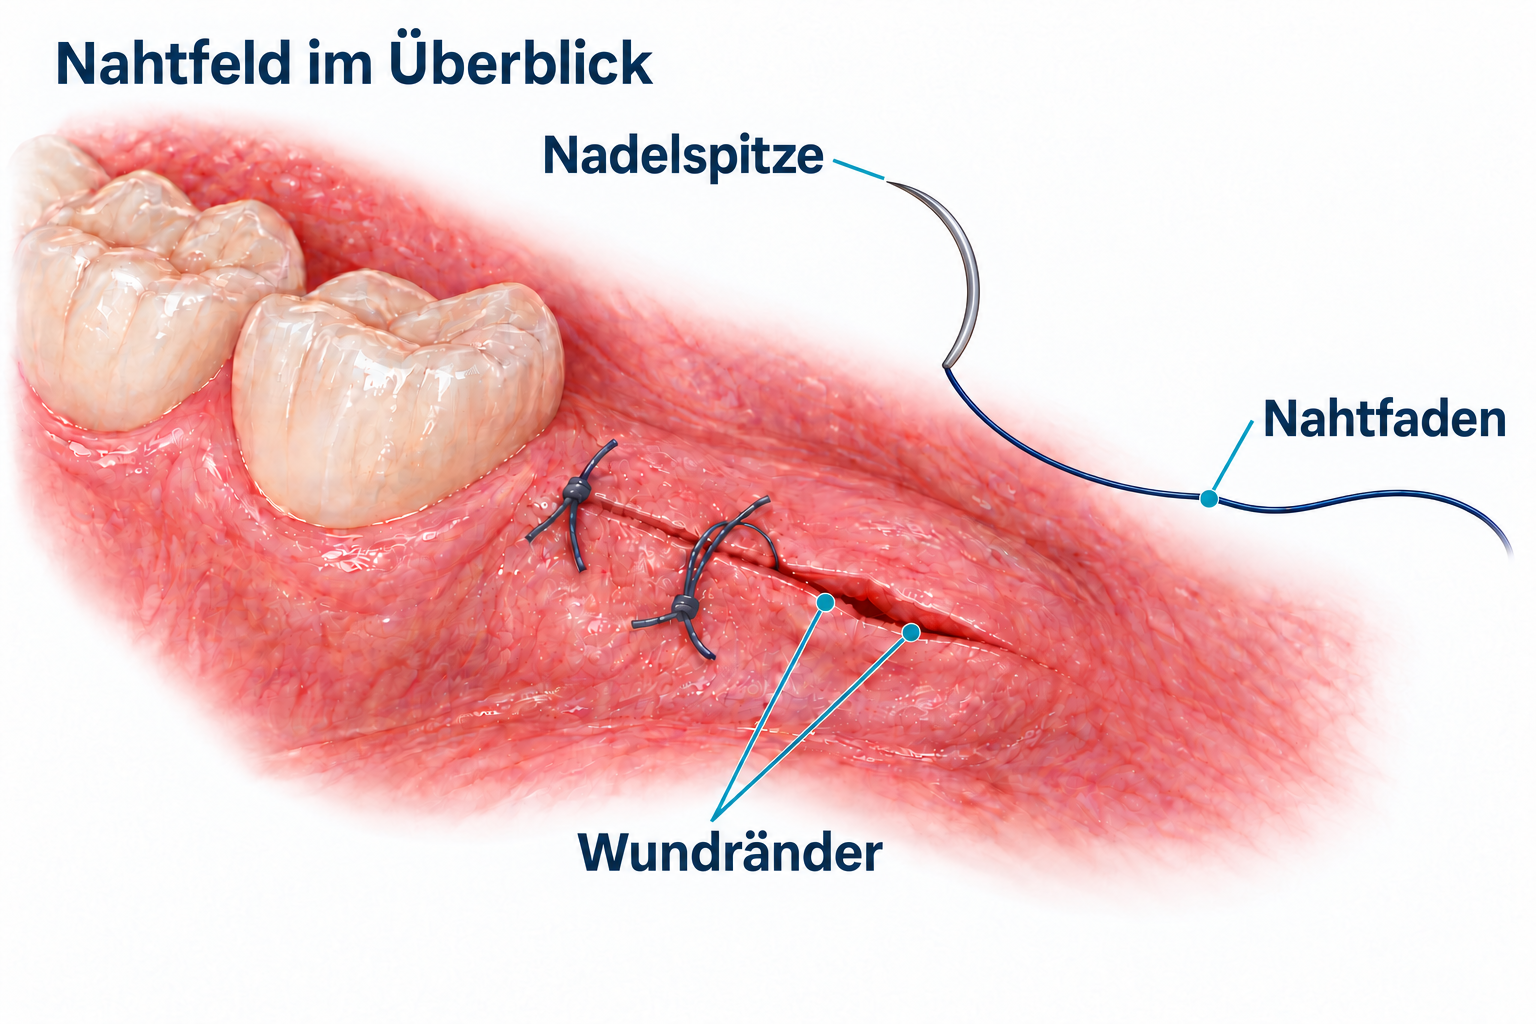
The suturing task determines the visual requirements
When picking up and guiding the needle, your attention is on its fine tip. During a trial, you want to see how clearly you can distinguish its outline and whether it remains in the magnified image as the instrument moves. Both detail visibility and the size of the visible area matter here.
When examining the course of the suture and the knot, the visual task changes. How clearly does the fine suture stand out against the background? Can you follow its course even where sections lie close together? Along with image size, assess sharpness, contrast and illumination.
When looking at the wound margins, their spatial relationship becomes important. How are the two margins positioned relative to each other, and how much of the adjacent wound can you see at the same time? This shows how much field of view you need, including during selected periodontal or regenerative implant procedures.
The literature on microsurgical suturing links visual information to hand movements. In 2026, Gordon and colleagues describe an instrument-assisted suturing technique for periodontal and implant microsurgery under the operating microscope. They emphasize coordination of both hands, stabilization of the instruments and targeted practice on a model. The article is a technical report with clinical examples; it does not investigate any particular loupes. Read the article by Gordon et al.
This raises a practical question when choosing loupes: what do you need to see as you move the instruments? You can assess this with an appropriate suturing task.
Taking a closer look at the needle tip and suture path
When comparing magnification levels, first choose a specific structure: the needle tip, a section of the suture or a fine transition at the wound margin. Assess how large this structure appears and how clearly you can distinguish it.
Image size and detail visibility describe different properties. Sharpness, contrast, lighting and your vision also determine how well you can use the magnified image.
The appropriate magnification depends on your task and your individual visual requirements. Before your consultation, note two typical situations: one in which you want to view particularly fine structures, and one in which an overview of the working area matters to you. These give you a specific starting point for choosing loupes.
Panoramic: fine detail and more of the suturing field in view
While you are looking at the needle tip, the opposite wound margin, the course of the suture and the position of the second instrument are also important. The field of view determines which of these areas you can see simultaneously through the loupe optics.
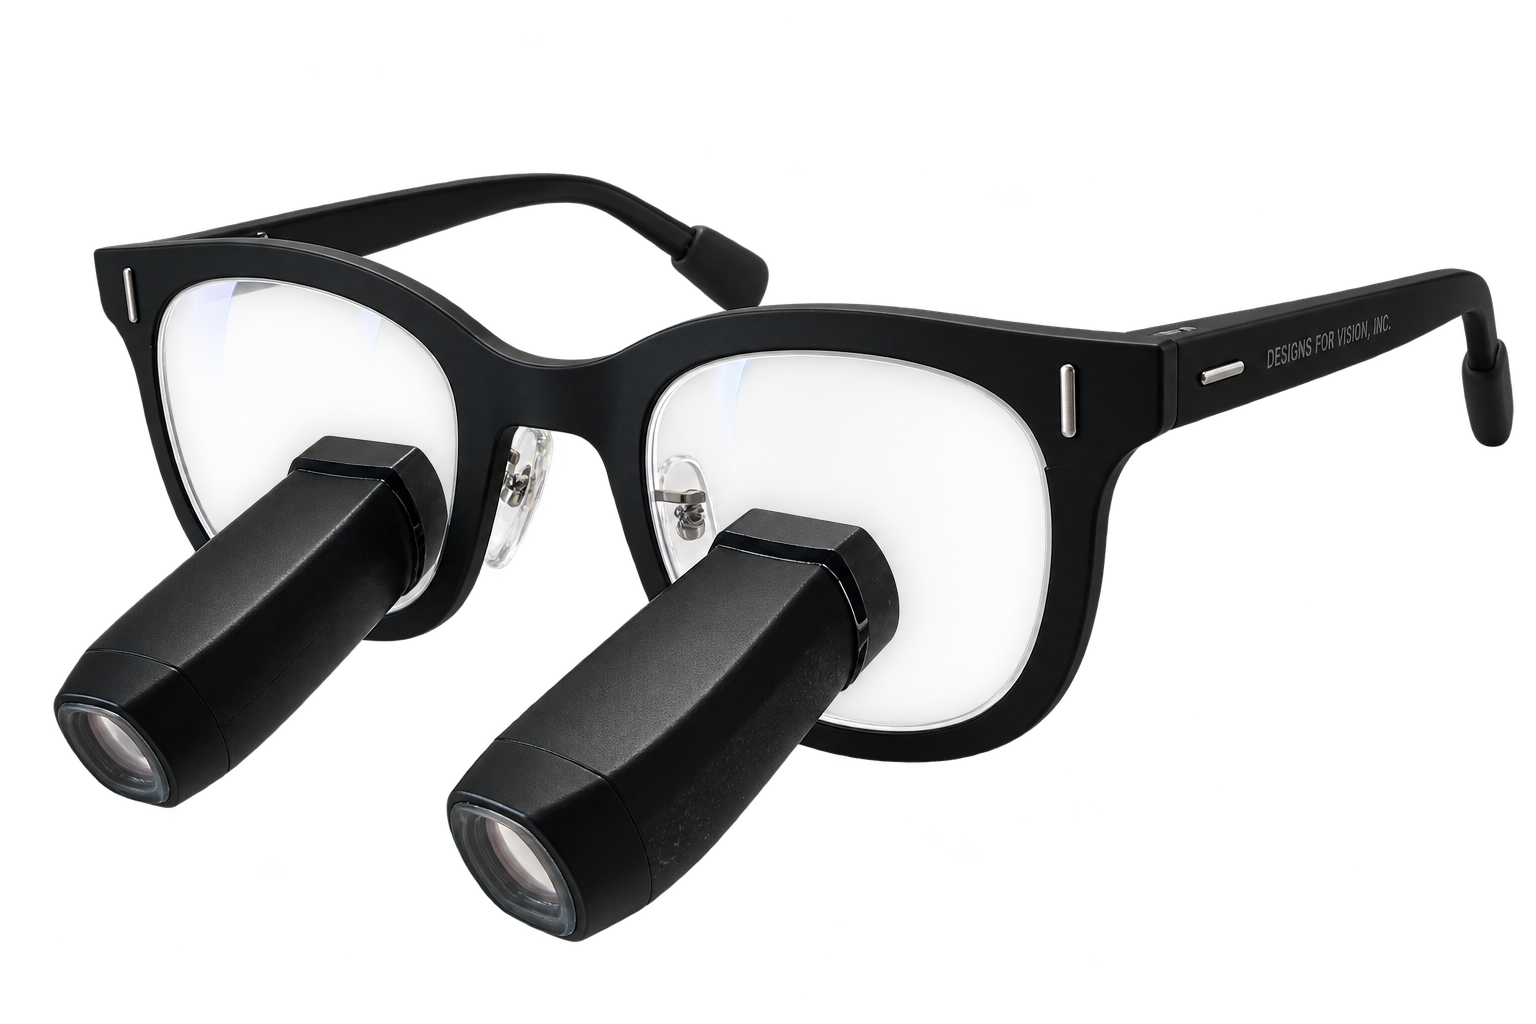
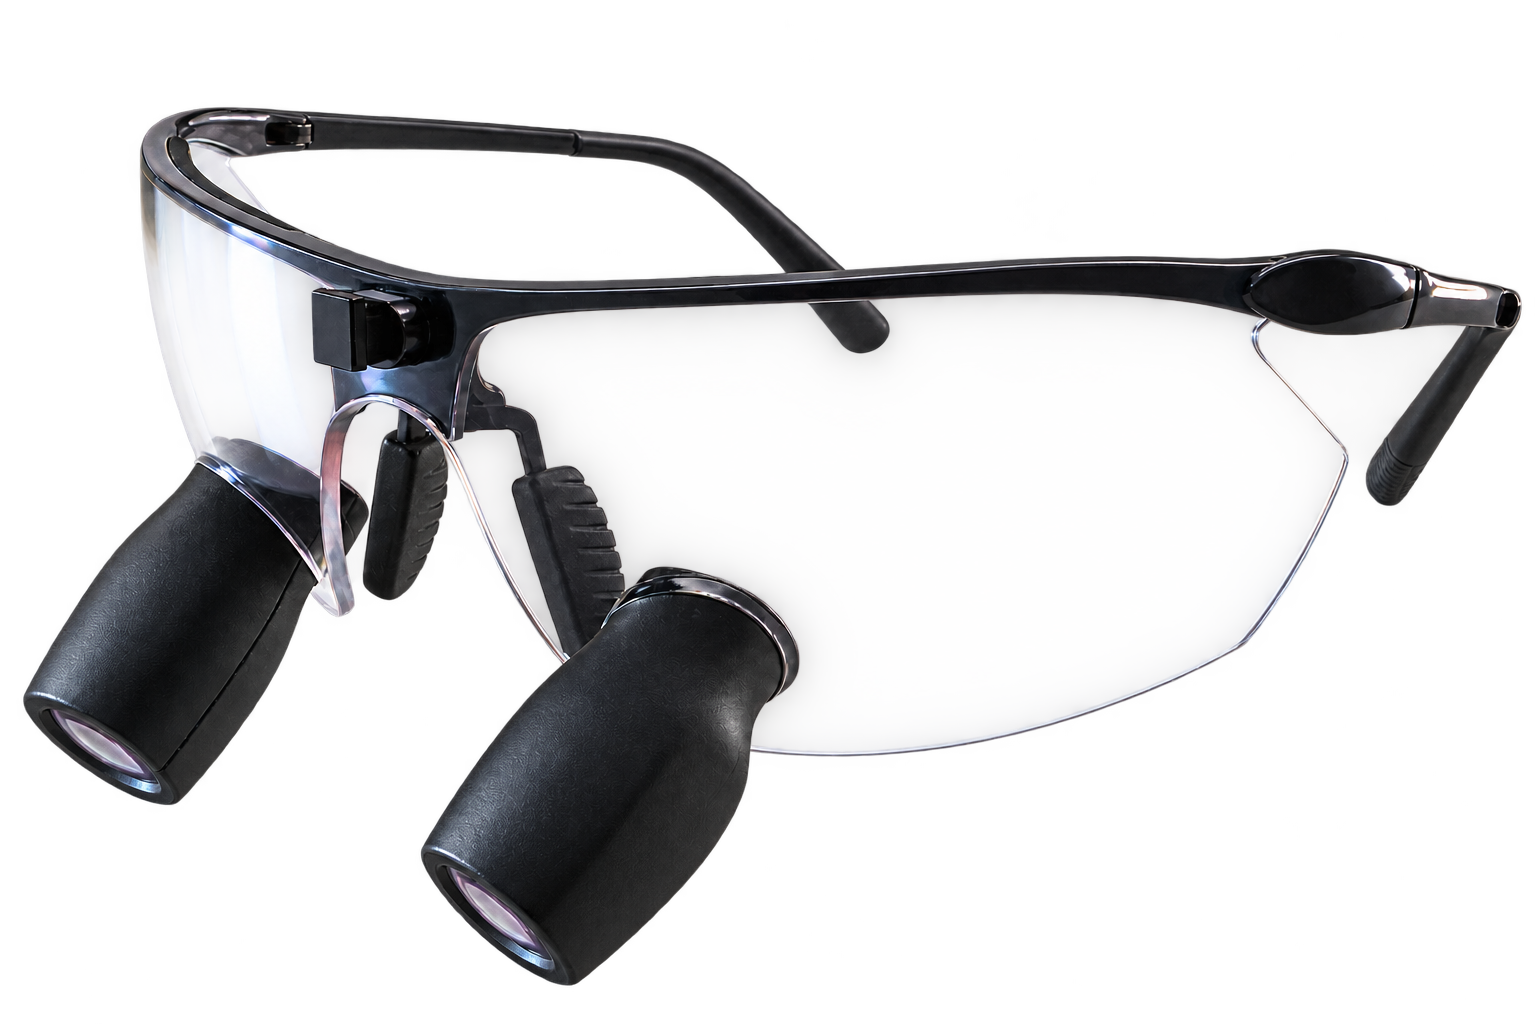
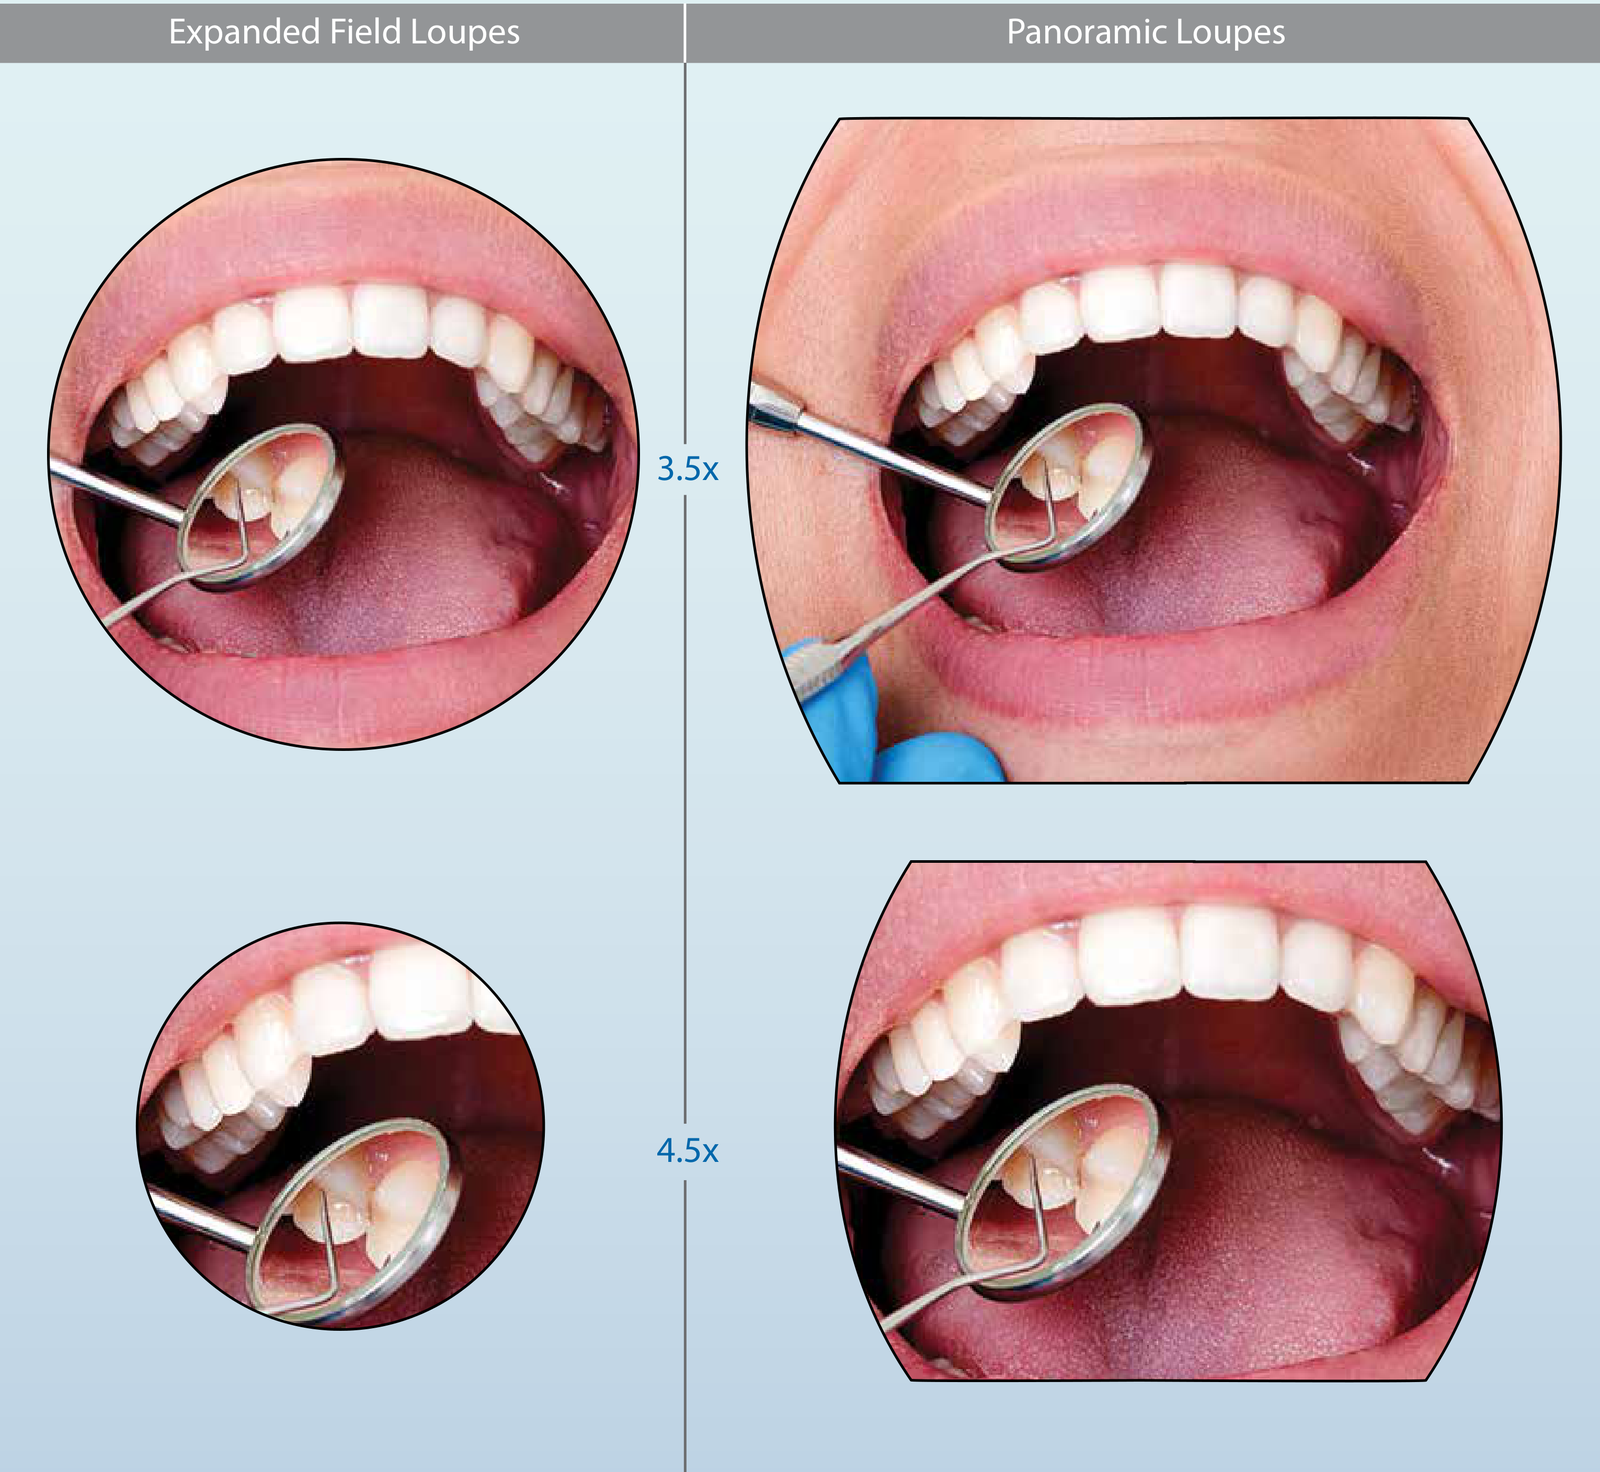
Panoramic optics from Designs for Vision combine detail magnification with a particularly large magnified field of view. Compared with the corresponding Expanded Field optics from Designs for Vision, they show a larger portion of the working area at the same magnification level. You can choose the desired magnification for the needle tip while keeping more adjacent tissue in the image.
During wound closure, this overview helps you view an individual detail in its surroundings. If the needle tip, the course of the suture and both wound margins are all within the field of view, you can shift your attention between them without having to redirect your view each time. For example, you can examine the knot and then assess the position of the adjacent wound margins – within the same magnified view.
Check which areas you can actually see together in your working position and with suitable lighting. Compare Panoramic with the other optics you are considering on a typical suturing task. MicroEF, for example, combines an expanded field of view with a compact prismatic design. What matters is which optics let you see both the detail you need and the surrounding area you want in view.
Comparing field of view and working area
At the same magnification level, the optics change how much of the working area is visible at once. The following manufacturer illustrations demonstrate this relationship.
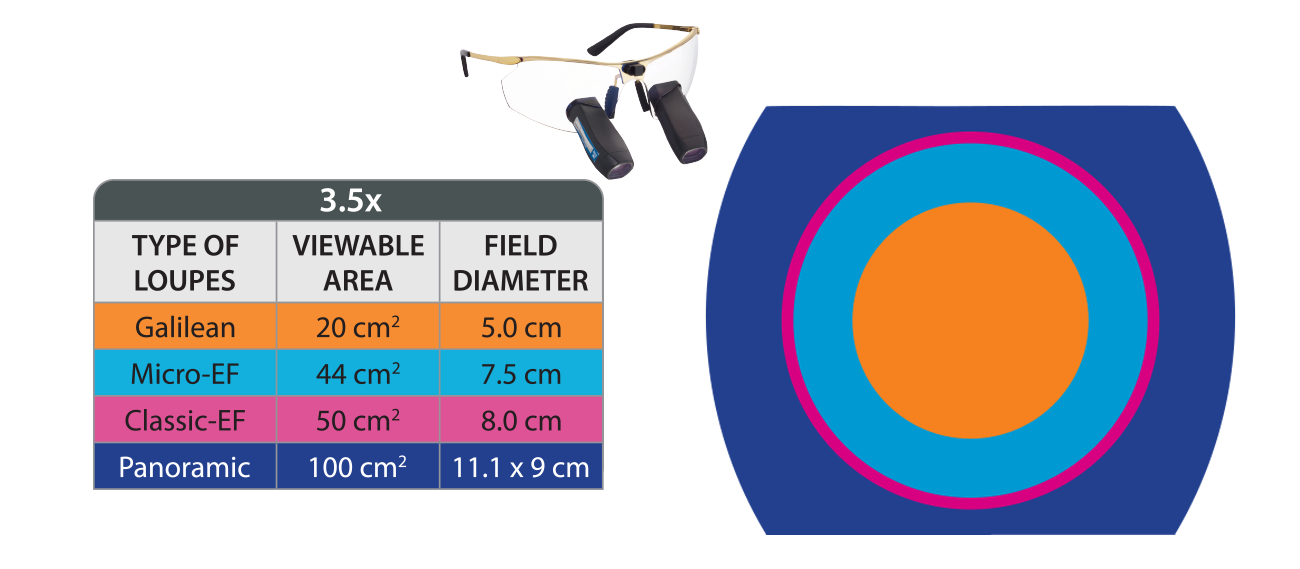
- Galilean · 3.5×
- 20 cm² · Ø 5.0 cm
- MicroEF · 3.5×
- 44 cm² · Ø 7.5 cm
- ClassicEF · 3.5×
- 50 cm² · Ø 8.0 cm
- Panoramic · 3.5×
- 100 cm² · 11.1 × 9 cm (width × height)
Your loupes should be in focus in your working position
Your distance from the patient and your preferred direction of gaze form the basis for fitting. In this position, you check whether the suturing field appears sharp and the two optical systems produce a single, fused image.
Designs for Vision loupes are custom-built. We take your measurements and discuss your working position. Working distance, alignment and, where applicable, prescription correction are coordinated to meet your requirements.
It is also worth checking depth of field. This describes the distance range within which the object being viewed appears sufficiently sharp. Small changes in your distance may occur during wound closure. During a demonstration on a model, therefore, move slightly forward and backward and observe how the image changes. This hands-on trial shows how much you can move while maintaining focus with those optics.
Lighting should cover the field you need
A wide magnified field of view delivers its practical benefit together with appropriate illumination. Check whether the light reaches not only the central detail but also the wound areas you want to view at the same time. Your working distance, the alignment of the light and the actual location of the working area all matter.
DayLite HDi headlights from Designs for Vision are designed to distribute light evenly. An UltraMini configuration with a Panoramic Spot is also available for the wide Panoramic field of view. When choosing, check how well the light covers the suturing field at your working distance. Assess coverage with the optics you will use.
Also assess the complete system as worn. How does the frame fit with the headlight attached? Is alignment maintained during the movements of the model task? How do the headlight controls and any cable fit into your workflow? These observations help you assess comfort and handling.
Five questions for a useful hands-on trial
A suturing task on a surgical training model prepares you for the consultation. Compare using the same task, the same suture material whenever possible and comparable lighting conditions.
- How clearly can I see the needle tip as it moves? Assess its outline and its entry into the magnified image.
- Can I follow the course of the fine suture? Look at a section and the knot. Check how clearly the suture stands out against the model tissue.
- Which wound margins and instrument positions remain visible at the same time? Select the area you need for this step. Compare how much of it each optical system shows.
- Does the suture detail stay sharp in my working position? Adopt your preferred position and then try small changes in distance. Take your prescription correction into account.
- Does the light also reach the lateral wound areas I need to see? Observe illumination with the complete system as worn.
How your loupe consultation begins
Come to your consultation with a specific visual task in mind: for example, the course of the suture around the knot, the needle tip during movement or viewing both wound margins at the same time. If you already use loupes, you can also describe what you would like to retain or change.
At Visiomedical, we therefore begin with your specific tasks and your previous experience with loupes. Together, we discuss suitable optics from Designs for Vision and coordinate magnification, field of view, working distance, declination angle, prescription correction and lighting to meet your requirements.
Tell us what view you need during wound closure or what you would like to change about your current loupes. We will discuss the appropriate next step in your consultation.